idea2Life Getting Started Guide
Installation
Install Using Docker
Download and Install Docker Desktop for Mac using this link docker-desktop. and for linux using this link docker-desktop on linux
Clone repo using this link idea2Life repo
Change your directory to your cloned repo.
Download the model file inside ai/models.
Open terminal and run following commands
cd <path-to-repo> //you need to be in your repo folder
docker-compose build
If you want to install idea2Life from source (without docker) Refer this section Install and use idea2Life from source (without docker).
Supported Hardware and operating system
idea2Life software is supported on the following host operating systems:
Linux
mac OS X
Minimum system configuration.:
Processor: Dual core Processor
RAM: 4GB of system memory
Hard disk space: 10 GB
Recommended system configuration:
Processor: Intel core i7 or higher
RAM: 8GB of system memory
Hard disk space: 30 GB
How to start or stop idea2Life
Start
Open terminal and run the following commands:
cd <path-to-repo> //you need to be in your repo folder

docker-compose up
Stop
Open terminal and run the following commands:
cd <path-to-repo> //you need to be in your repo folder

docker-compose down
How to use idea2Life
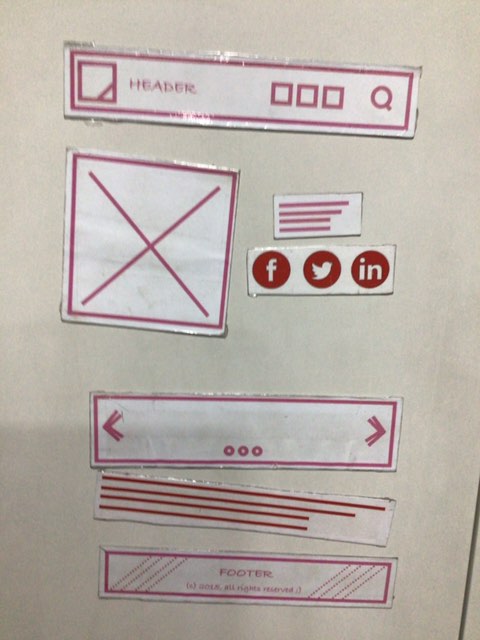
1. Download and print templates. Download link: Idea2life_templates_for_print preferably on magnetic sheets. Cut individual templates like this and paste on magnetic sheets.
Footer

Video

Open the app on your tablet browser.:
https://localhost:1813/
you may have to replace localhost with your desktop/server IP address, Ensure idea2Life application and tablet is running in same network.
Ignore/accept any certificate warning/error in your browser.
Click on prototype/camera icon to begin prototyping.
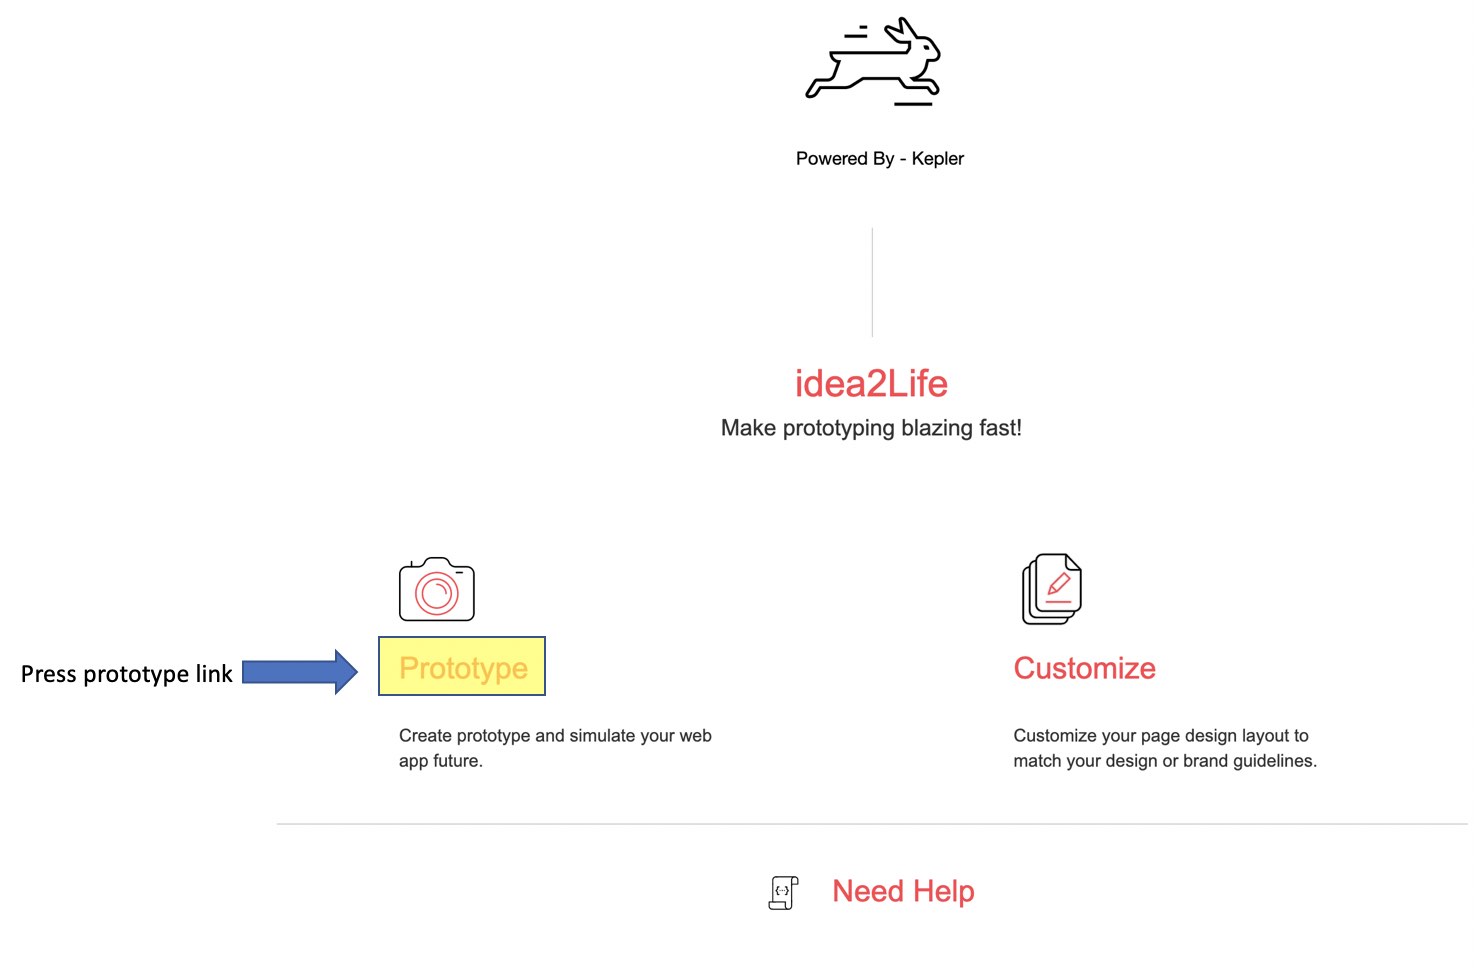
You will get to idea2Life prototype page.

6. Arrange printed templates on table or metal surface according to your desired webpage design.
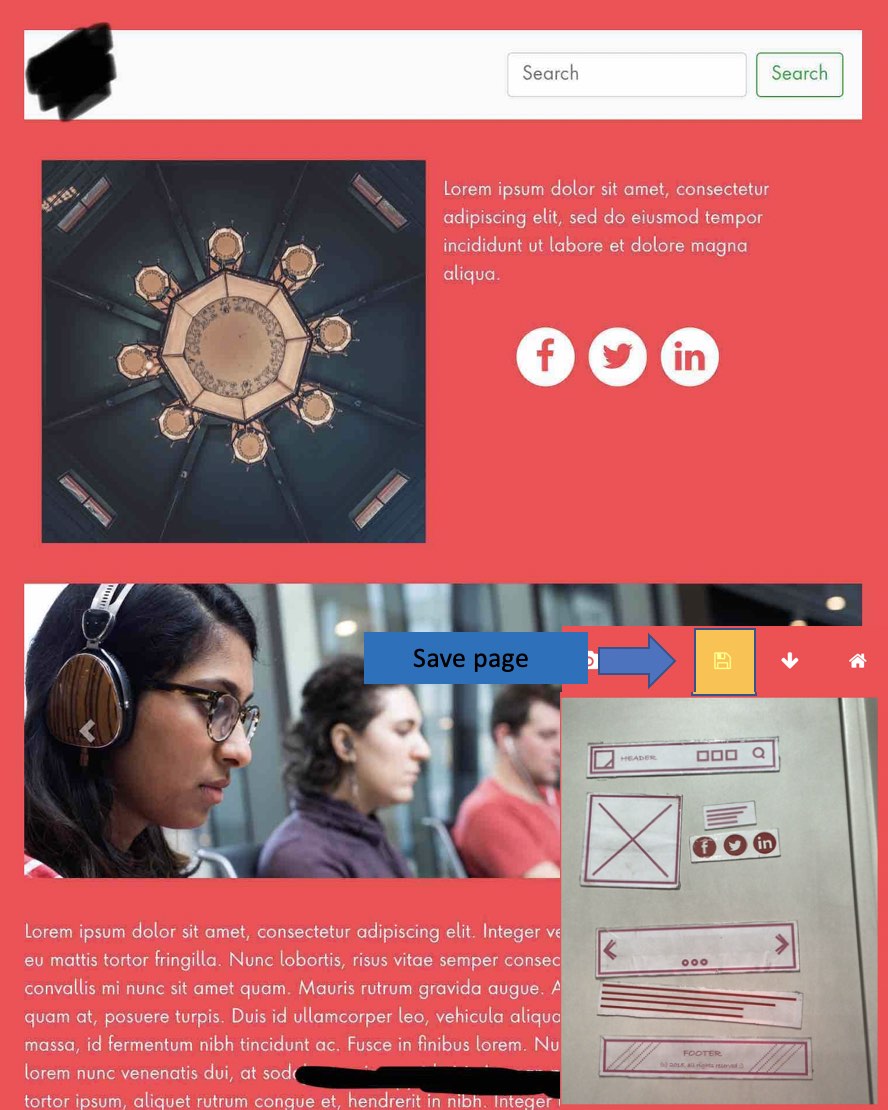
7. Point camera towards printed templates and take picture by clicking on camera icon in control panel.

8. idea2Life will automatically generate a new webpage based on laid out components.

![]()

9. Press third save icon button if you want to save currently generated template for customization later.

Take a look at demo video for more details:
Click on reset button/play icon button if you want to design new page.

Refer idea2Life How to guides. for advanced use cases.