how to use prototype page
1. After pressing Prototype link on homepage, you will get to idea2Life prototype page.

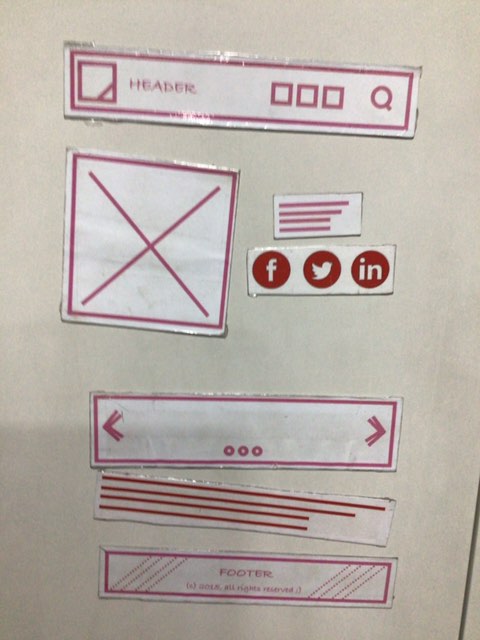
2. Arrange printed templates on table or metal surface according to your desired webpage design.
3. Point camera towards printed templates and take picture by clicking on camera icon in control panel.

4. idea2Life will automatically generate a new webpage based on laid out components.

![]()

This step will automatically generate new page which you can edit using these instructions How to customize generated pages
5. Press second play icon button if you want to continue taking picture and want to generate more pages

6. Press third save icon button if you want to save currently generated template for customization later.

7. Press fourth Minimize button if you want to hide this control panel and want to see generated page without control panel obstructing it.

Press fifth Home button if you want to return to homepage.

9. Press optional upload image button if instead of taking picture using camera you want to upload already clicked image stored on desktop/tablet for page generation. This optional icon will only be visible if you open prototype page using debug option. Debug idea2Life prototype page
